
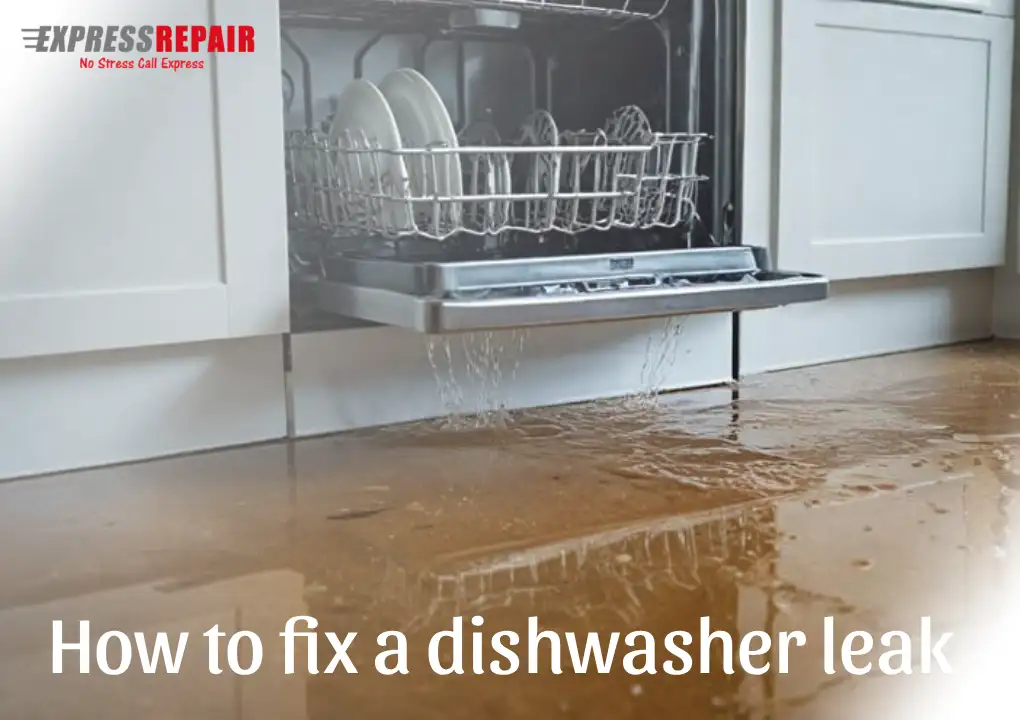
A puddle under the dishwasher can mean anything from a quick DIY fix to a part that’s worn out after years of washing. The good news: most leaks come from a handful of predictable places—door gasket, loose hoses, clogged filters, or an overenthusiastic detergent choice. This guide shows you how to locate the source, apply the right repair, and prevent repeat leaks. If you reach the end and the water keeps creeping out, you can always contact us and we’ll fix it.
Quick Safety & Prep
- Cut the power: Switch off the dishwasher at the breaker or unplug it.
- Turn off water: Close the shutoff valve under the sink (usually on the hot line feeding the dishwasher).
- Protect the floor: Lay towels or a shallow tray under the front edge.
- Have a bucket handy: A little residual water will escape when you open panels or remove hoses.
Tools & Supplies You May Need
- Phillips and flat-head screwdrivers
- Torx bit (for some models)
- Adjustable wrench and pliers
- Flashlight and paper towels
- Vinegar, soft brush, and a small cup for cleaning
- Replacement parts if needed: door gasket, door bottom seal, inlet hose, drain hose, hose clamps, float switch, water inlet valve, or circulation pump gasket
Step 1: Identify the Leak Pattern
Understanding where the water appears narrows your search fast.
- Water at the front/door: Usually the door gasket, door bottom seal, or over-sudsing.
- Water under the machine center: Often pump or sump gasket, or a cracked tub (rare).
- Water at the left/right rear: Frequently a loose inlet hose (left on many models) or drain hose (right), or the water inlet valve.
- Intermittent small puddles: Could be a slow hose seep, a misaligned door, or splashing from loading errors.
Tip: Wipe dry, place a paper towel in suspected zones, and run a short cycle. The wet towel tells you who’s guilty.
Step 2: Common Fixes by Leak Location

A) Leaks at the Door Edge or Dripping Down the Front
Likely causes
- Compressed, torn, or grimy door gasket
- Worn door bottom seal (a.k.a. tub baffle on some models)
- Door not latching squarely (hinge springs, racks protruding)
- Oversudsing from non-dishwasher detergent or too much pod
How to fix
- Clean the gasket: Open the door and scrub the rubber gasket channel with warm water and mild soap. Remove grease and debris in the corners.
- Inspect: Look for flat spots, cracks, or hardened rubber. If damaged, replace the gasket. Most push into a channel—start at the top center and work down both sides, pressing firmly.
- Check the door bottom seal: Remove the lower panel or consult your model manual; some seals slide off the door, others are part of a “splash guard.” Replace if warped or brittle.
- Check door alignment: Confirm the dishwasher is level (front-to-back and side-to-side). Adjust the front feet; a slight forward tilt helps keep water inside.
- Stop oversudsing: Use only dishwasher detergent, follow pod directions (one pod per load), and avoid rinse-aid overfill.
B) Leaks from the Bottom Middle (Underneath the Unit)
Likely causes
- Circulation pump or drain pump gasket leaking
- Cracked sump or loose sump clamp
- Loose cleanout cap (some models)
How to fix
- Remove the toe-kick (lower front panel). Shine a flashlight while running a quick cycle.
- Observe the pump area: If you see drips around the pump housing, gently tighten the screws or clamp.
- Replace the pump seal/gasket if tightening doesn’t help. Disconnect power/water, tilt out the unit, remove the pump (usually a twist-lock or screws), and install the new seal exactly as oriented.
- Sump leaks: Inspect for hairline cracks or a misseated sump o-ring. Replace the o-ring or the sump assembly if cracked.
C) Leaks at the Left/Right Rear – Hoses & Inlet Valve

Likely causes
- Loose inlet hose at the dishwasher valve
- Loose or cracked drain hose
- Failing water inlet valve (weeping even when closed)
How to fix
- Locate hoses: Pull the dishwasher partway out (after disconnecting power and water). The inlet hose connects to a small solenoid valve; the drain hose routes to the sink drain or garbage disposer.
- Check clamps and fittings: Tighten hose clamps but don’t over-crush them. Re-seat and re-clamp if the hose looks distorted.
- Inspect for pinholes: Flex the hose; replace if brittle or cracked.
- Test the inlet valve: If water seeps out the valve body or the unit slowly fills when off, replace the valve. It’s a straightforward swap: disconnect wires and line, swap valve, use pipe thread tape if required, and reattach.
D) Leaks Inside the Tub (Overflowing or Splashing Out)
Likely causes
- Clogged filter or spray arms causing poor circulation
- Float/overfill switch stuck, letting in too much water
- Incorrect detergent or excessive rinse aid
- Large pans blocking the door area, redirecting spray
How to fix
- Clean the filter: Remove the lower rack. Twist out the filter assembly; rinse with warm water and scrub the mesh.
- Clear spray arms: Poke debris from the spray arm holes with a toothpick and flush with water. Re-seat arms firmly.
- Float switch: Locate the float (usually a small dome or stem on the tub floor). Lift it; it should move freely and click the switch. Clean around it and confirm no gunk jams it.
- Loading check: Keep tall pots from blocking the door path; angle items so water drains.
- Detergent sanity: Use the recommended amount. If you switched to a high-efficiency pod, don’t add powder on top of it.
Step 3: Special Cases Worth Checking
- New Garbage Disposer Installed? Remove the knockout plug in the disposer’s dishwasher inlet. If it’s left intact, your dishwasher can’t drain, leading to overflows and leaks.
- Rinse-Aid Overfill: Spillage around the dispenser can mimic a leak. Wipe and monitor.
- Water Softener + Pods: Extra-soft water can make pods foam more. Try half-pod (cuttable powder pods) or switch to a gel with measured dose.
- Door Latch Play: If the latch is loose, the door might flex and leak under spray pressure. Tighten the strike plate or replace the latch.
Step 4: Test the Repair
- Relevel the unit and slide it back in, ensuring hoses aren’t kinked.
- Run a short cycle while watching with a flashlight (toe-kick off helps).
- Check for slow seeps 10–15 minutes into the wash and during drain.
- Dry all panels and reinstall the toe-kick once you’re confident it’s dry.SymptomMost Likely CauseFirst Fix to TryPuddle at front edge after cycleDirty/flattened door gasketClean gasket, then replace if wornRandom small puddlesLoose hose clampTighten/replace clamp and relevel unitWater during fill, even when offFaulty inlet valveReplace inlet valveSuds spilling from doorWrong detergent/too muchSwitch to DW detergent, reduce doseLeak mid-cycle from bottomPump/sump gasketInspect and replace gasketStanding water inside after cycleDrain issue (knockout plug, blockage)Remove disposer knockout, clear drain hose
When to Call a Professional
If you’ve cleaned the filter, checked hoses and clamps, replaced a suspect gasket, and it still leaks—or you see corrosion around the motor/pump area—save your floor and your sanity. A pro can pressure-test components and spot hairline cracks quickly. If you’re in Brooklyn or nearby, contact us and we’ll fix it.