
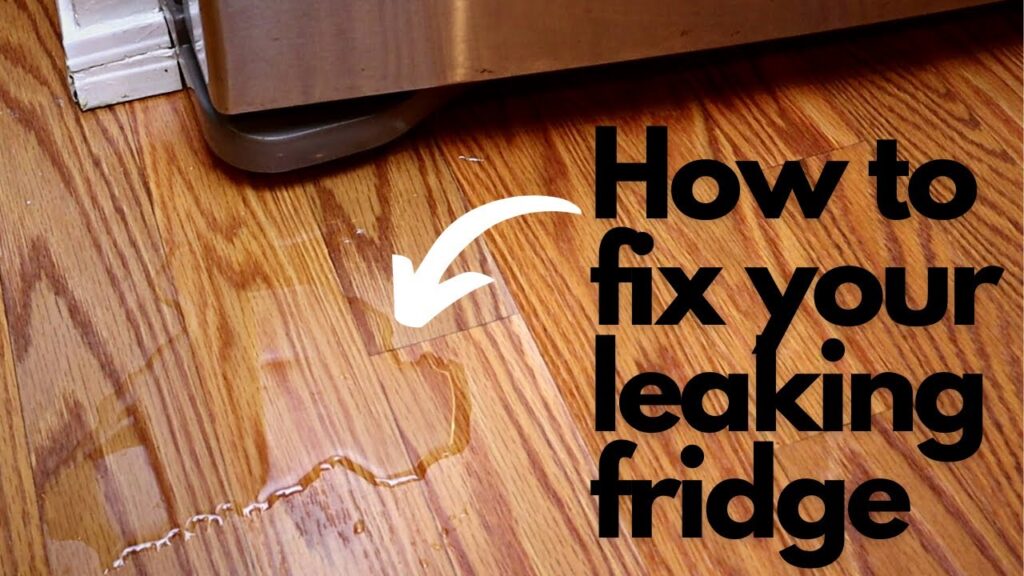
A leaky refrigerator can range from a minor nuisance to a slip hazard that damages floors and cabinets. The good news: most leaks come from a handful of fixable issues—clogged defrost drains, loose water lines, worn door gaskets, or a tilted cabinet that lets condensate spill instead of draining. This guide walks you through quick diagnostics, common causes, and safe, DIY fixes. We’ll also flag the problems that are better left to a professional.
Safety First
- Unplug the refrigerator before removing panels or working near moving parts.
- Shut off the water supply if your fridge has an ice maker or water dispenser.
- Use gloves and place towels or a shallow pan under areas you’ll open.
- If you smell a solvent-like odor, hear hissing, or suspect a refrigerant leak, stop and call a pro—refrigerant handling requires certification.
Quick Diagnostic: Where is the water?
- Water under the front of the fridge (pooling on the floor)
Likely causes: unlevel cabinet, cracked drain pan, clogged defrost drain. - Water inside the fresh-food compartment (under crisper drawers)
Likely causes: clogged defrost drain, iced-over drain funnel, door gasket leaks causing excess condensation. - Water behind the fridge
Likely causes: loose or damaged ice maker/dispenser water line, faulty water inlet valve, filter housing leak. - Water from the dispenser area
Likely causes: air in lines (drips), cracked dispenser tubing, mis-seated filter, sticky dispenser paddle. - Intermittent puddles after defrost cycles
Likely causes: blocked defrost drain or displaced drain heater (some models), drain pan misalignment.
Make a note of when the leak appears (constant vs. after ice making or defrosting) and how much water you see—these clues matter.
Tools & Supplies You May Need
- Level (bubble or digital)
- Phillips and flathead screwdrivers
- Nut driver set (¼”, 5/16″ common)
- Towels and a shallow tray
- Flexible drain cleaning tool (or zip tie), turkey baster or squeeze bottle
- Hot water mixed with a little dish soap or vinegar (no bleach near stainless)
- Replacement water filter, ¼” water line, compression fittings as needed
- Food-grade silicone lubricant (for gasket conditioning)
Step 1: Verify the Fridge is Level and Slightly Tilted Back

A refrigerator should be level side-to-side and tilted slightly back (front higher than rear by ~3–6 mm). This helps doors close and directs condensate into the rear drain.
- Place a level on the top or bottom shelf.
- Adjust front leveling feet (usually accessible behind the toe-kick).
- Recheck door swing—doors should close on their own from a slight open position.
If the cabinet is too far forward, meltwater may spill over instead of traveling to the drain.
Step 2: Inspect and Clear the Defrost Drain (Most Common Fix)

When the defrost system melts frost off the evaporator coil (usually in the freezer), water should travel through a small drain hole and funnel to a tube leading to the drain pan. If that passage is clogged with ice or debris, water backs up and finds its way into drawers or onto the floor.
How to clear it:
- Access the drain:
- In top-freezer models, remove the lower freezer panel or rear inside panel.
- In side-by-side or bottom-freezer units, remove the rear interior freezer panel (you may need to take out shelves and the ice bin).
- Defrost the drain opening:
- Use a hair dryer on low or place warm towels around the drain funnel to melt ice (avoid overheating plastic).
- Do not chip at ice with sharp tools.
- Flush the drain:
- Mix hot water with a little dish soap or a 1:1 water-vinegar solution.
- Use a turkey baster or squeeze bottle to flush the drain hole until water flows freely into the pan below.
- Feed a flexible drain brush or long zip tie gently into the tube to dislodge gunk.
- Confirm flow:
- Pour another cup of hot water; check under the fridge for flow into the pan.
- If water doesn’t reach the pan, the tube may be kinked or detached behind the rear panel (see Step 4).
Tip: Some models use a small drain heater clip to keep the drain from icing. If your unit has one and it’s out of place, reposition it per your model’s diagram.
Step 3: Examine the Door Gaskets and Condensation Sources

Leaky or warped door gaskets let humid air in, creating condensation that accumulates as water.
- Visual check: Look for tears, gaps, or mold that prevents a seal.
- Dollar-bill test: Close the door on a dollar bill and pull—if it slides out easily along large sections, the gasket may be failing or the door is misaligned.
- Clean and condition: Wash gaskets with mild soap and warm water, then apply a thin layer of food-grade silicone.
- Adjust shelves and bins: Items pushing against the door can prevent a tight seal.
- Check door hinges: Drooping doors can be shimmed or adjusted; consult your model’s manual.
If the gasket is torn or permanently misshapen, replace it—it usually presses into a channel or is secured by screws under the inner door liner trim.
Step 4: Inspect the Drain Pan and Rear Plumbing

Pull the unit forward (mind the flooring) and remove the rear lower panel.
- Drain pan:
- Ensure it’s not cracked and sits properly on its supports. Replace if damaged.
- A pan that’s repeatedly overflowing can signal a non-functional condenser fan (water not evaporating) or excessive humidity in the room.
- Defrost drain tube:
- Verify the tube is attached to the funnel above and unobstructed where it empties into the pan.
- Clear any slime or debris; re-seat any loose elbows or grommets.
- Condenser fan & coils:
- Vacuum dust from the coils and confirm the fan spins freely. Poor airflow slows evaporation and can magnify moisture issues.
Step 5: Check the Water Filter and Filter Housing

A mis-seated or cracked water filter or housing can drip inside the fridge or down the back.
- Remove and reseat the filter, ensuring the O-rings are lubricated (water only) and not nicked.
- If your model uses a bypass plug, test with it to see if the leak stops—this isolates the housing as the culprit.
- Replace a damaged housing or filter head; these parts often crack with age or during filter changes.
Step 6: Inspect the Ice Maker Supply Line and Inlet Valve (Rear)

Most fridges use a ¼” plastic or braided stainless line from the household supply to a rear inlet valve.
- Dry everything first, then watch for seepage as you turn the water supply back on.
- Tighten compression fittings gently; don’t overtighten (it can deform ferrules and worsen leaks).
- Replace brittle plastic line with braided stainless for longevity.
- If the valve itself drips or leaks only during fill cycles, replace the water inlet valve assembly.
Step 7: Address Dispenser Drips and Line Issues
If water drips from the dispenser after use:
- Purge air: Run 2–3 liters of water through the dispenser after installing a new filter.
- Check the spout and paddle: Mineral buildup can make the paddle stick; clean thoroughly.
- Frozen line: In some designs, the door’s dispenser line can freeze; increasing the fridge temperature slightly or using a door-line heater kit (model-specific) can help.
- Cracked door tubing requires replacement—match the OD (usually 5/16″ or ¼”) and use push-to-connect couplers.
When to Call a Professional
Call a qualified technician if you encounter:
- Persistent leaks after clearing the defrost drain and verifying level
- Cracked internal liners, broken drain troughs buried behind foam
- Water inlet valve leaks you’re not comfortable replacing
- Electrical or control-board issues tied to defrost cycles
- Any suspected refrigerant or sealed-system problem
If you couldn’t fix it—or you’d rather not deal with it—contact us and we’ll fix it promptly.